


how to edit reel for instagram
Editing a reel for Instagram involves several steps. Here's a basic guide to help you get started:
1. Collect your footage: Gather the video clips or images you want to include in your reel. You can use videos you've already recorded or shoot new ones specifically for your reel.
2. Choose a video editing software: There are various video editing tools available, both online and offline. Some popular options include Adobe Premiere Pro, Final Cut Pro, iMovie (for Mac users), or even mobile apps like InShot or Adobe Premiere Rush. Choose the one that suits your needs and skill level.
3. Import your footage: Open your chosen video editing software and import your video clips or images into the project. Most software allows you to import files by dragging and dropping them into the timeline or using the import function.
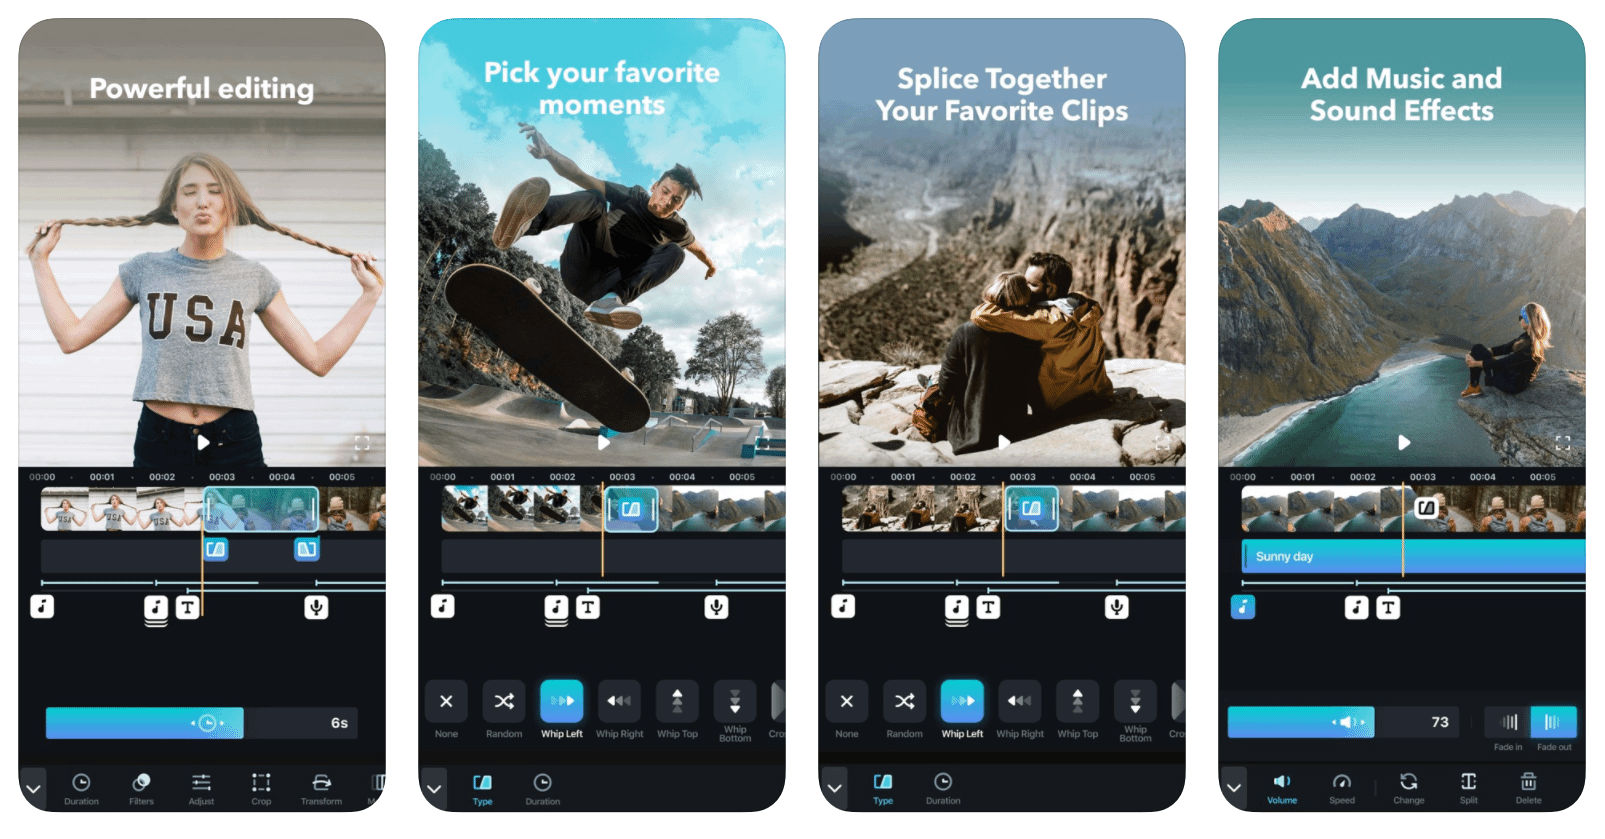
4. Arrange your clips: Once the footage is imported, arrange the clips in the desired order. You can trim or cut clips to remove any unwanted sections. Consider the flow and pacing of your reel and make sure it aligns with the message or story you want to convey.
5. Add transitions: To create a smooth and visually appealing reel, you can add transitions between clips. Transitions can be simple fades, cuts, or more creative effects like swipes, zooms, or flips. Experiment with different transitions and choose the ones that enhance your content.
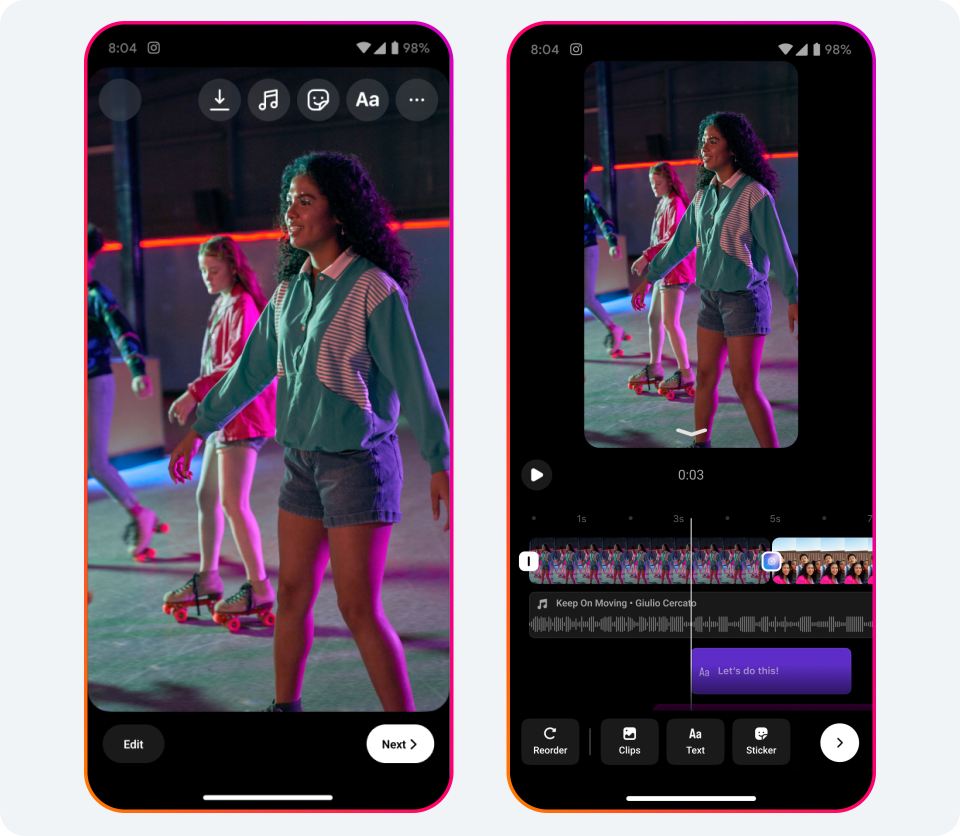
6. Include text or captions: If you want to add text or captions to your reel, you can use the video editing software's text tool. Add titles, captions, or any relevant information to complement your visuals. Ensure that the text is easy to read and doesn't obstruct the main content.
7. Enhance with effects and filters: Apply filters, color grading, or other effects to enhance the overall look and feel of your reel. Video editing software usually offers various options to adjust brightness, contrast, saturation, or even apply specific filters to achieve a consistent aesthetic.
8. Add music or audio: To make your reel more engaging, consider adding background music or audio. You can choose from royalty-free music libraries or use your own audio files. Ensure that the music complements your content and doesn't violate any copyright restrictions.
9. Adjust timing and pacing: Fine-tune the timing and pacing of your reel. Ensure that the transitions, effects, and music synchronize well with the visuals. Pay attention to the duration of your reel since Instagram has specific time limits for reels (currently 30 seconds or 60 seconds).
10. Export and save: Once you're satisfied with the editing, export your reel in a suitable format. Most video editing software allows you to choose the desired resolution and file format. Optimize the video settings for Instagram, such as resolution (1080x1080 pixels or 1080x1920 pixels) and aspect ratio (1:1 or 9:16).
11. Upload to Instagram: Transfer the exported video to your mobile device if you edited on a computer. Open the Instagram app, tap on the "+" icon to create a new post, and select your edited reel from your device's gallery. Add a caption, hashtags, and any relevant tags, and then share it with your followers.
Remember, the process may vary depending on the editing software you use, and it's always a good idea to explore tutorials or guides specific to your chosen software for more detailed instructions. Happy editing!

Nice
ReplyDeleteREALLY
Deletethanks
ReplyDelete